

How to Wear Posing Trunks: Fit Guide | Iron Eagle 🩲
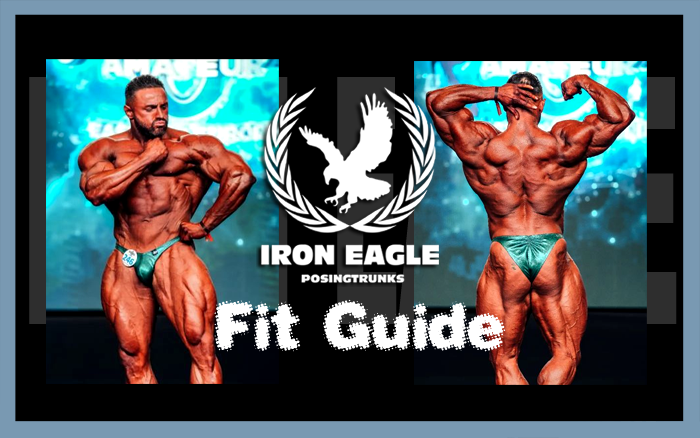
How to Fit Your Iron Eagle Posing Trunks
The right trunks, worn the right way, can shape your physique and show it off in its best light. This guide takes you through choosing the correct size, cut and colour, then putting your trunks on properly so you look your best on stage.
Step 1: Choose your size and colour
Visit www.posingtrunks.com to browse our full range of colours and styles. Colour is a personal choice, and we’re always adding more options. Trends change from season to season, and orange has been a popular choice in recent years.
Colour tip: When you’re deciding which show to enter, take a quick look at the stage and note the backdrop colour. Wearing something different from the backdrop makes sure you stand out.
Size guide
Small: 28"-30" / 71-76cm
Medium: 30"-32" / 76-81cm
Large: 32"-34" / 81-86.5cm
X-Large: 34"-36" / 86.5-91cm
Step 2: Select your cut
We offer two models:
Iron Eagle Premier is our pro cut, designed for the ultimate V-taper. It sits extra high on the hip to reveal deep quad cuts. It has a super narrow back with scrunch elastic to accentuate the glutes and show off glute striations, a pouch-style front with centre seam, and ultra-thin side straps. Fully lined at the front. Recommended for advanced and pro competitors.
Iron Eagle Flex is a more conservative cut, recommended for novice and intermediate competitors, or anyone who prefers a little more coverage. It has a 3/4 back with scrunch elastic to accentuate the glutes, a centre seam at the front, and sleek side straps for a comfortable fit. Fully lined at the front.
Now that you’ve chosen your size, colour and cut, it’s time to put them on correctly.
Step 3: The centre seam
A correct fit starts with the centre seam. Make sure it sits centred between your legs and is properly aligned, then slide the trunks up.
Step 4: Pull those lateral straps up
Once the trunks are on, double-check your centre seam. Then take both side straps and pull them over your hip bone, just under the oblique muscle. You’ll find a groove here, called the pelvic groove, and it’s the perfect fit for the straps (see the arrows in the pictures below).
If the side straps won’t stay over your hips, there’s most likely excess material at the back. Fix it by bringing the pouch higher up at the front.
Step 5: Seam and fabric check
While adjusting in Step 4, you’ll probably have felt the trunks shift at the back. Now align the back fabric where you want it to sit, and tuck the remaining material between your glutes so nothing bunches on the outer glutes. The scrunch elastic will keep the excess material in line.
Make sure the side straps are positioned correctly before making any other adjustments. Remember, the trunks aren’t meant to cover your glutes entirely.
Additional tips
- Size for a snug fit. Posing trunks are designed to fit snug, almost tight. There should be minimal loose fabric at the front or back that bunches or hangs. They shouldn’t feel as loose as underwear.
- Consider sizing down. Many professionals go down a size on the chart for a snugger fit that shows maximum glute striations.
- A snug fit is worth it. It may feel slightly uncomfortable at first, and take some getting used to, but it visually reduces the size of your waist and makes all your hard work shine. You want to restrict movement in the pouch as much as possible so that nothing distracts from your physique. Excess pouch room looks very unflattering on stage.
Here you can see the front straps correctly aligned in the pelvic groove, with the back material adjusted properly. Jonny is wearing a Premier cut in size L.

